Making LED lights
We had always intended to install lights in the gallery, and had run wire for four lights, at either end and in between the fans. But while I found many lights I liked I never found any that met that sweet spot of looks, power consumption (low) and price. So I decided to try and make my own.
We decided that for the gallery we wanted lights that didn’t do much more than provide a nice glow, enough to aid in walking around the house without barking your shins on furniture but certainly not enough light that you could read under them. They have to be very low wattage, so that if when go out we can leave them on without worry.
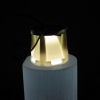
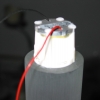
I was in Eurolite one day pestering them about LED lights when Traian brought out some new ones that they had just got in. Basically they’re a single LED in a small plastic shell that incorporates a reflector and a lens. There are two lens’, a flood and a spot. On the back side is a metal disk that has two leads soldered to it and takes care of heat dissipation. The LEDs are very bright, the spots from head on are way to bright to look directly into, like little halogen lights. But best of all, each light is just 1 watt. So all four lights, spanning the whole front of the house, will use just 4 watts!
They cost $20.00 each, plus $50.00 for the power supply - I needed the big one since it’s 50 feet across the gallery. My idea was to mount the lights on the end of 2” clear plastic rod, and hang them from the ceiling. I hoped the rods would glow as well as shine downwards. I was wrong.
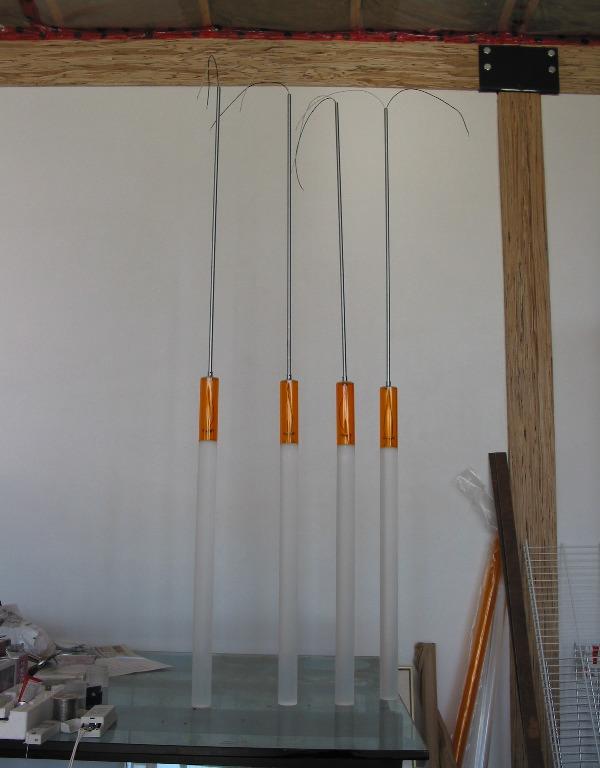
I found out that 1 3/4” rod is half the price of 2” rod so I changed that, and it had been my intention to cap the lights with orange tube of the asme outside diameter as my rod but I couldn’t get any cheaply so I bought clear instead. I thought I could paint it. I was wrong.
Every kind of paint I tried cracked the tube. I thought clear would look pretty crappy so I got out the yellow pages and called every single plastic supplier until I found one that could get me affordable orange tubing.
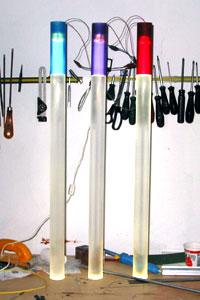
With that settled I started experimenting with my rods and lights and I found out that the clear tubes, with polished ends, act as fibre optics. No glow, just the light coming right out the end. I took some sandpaper and scuffed up both ends of a rod and that helped somewhat, but it still wasn’t quite the effect I wanted. So I gritted my teeth and sanded the sides of the rod as well, so the whole thing now looked like it had been etched, or sandblasted. And it glowed. That was the look I was going for. I sanded the remaining three rods and glued on the lights.
The orange tubing has two purposes: first it covers and protects the light, and second it provides and anchor point for the downrod. The downrods, incidently, were salvaged from the kitchen lights. They couldn’t be used there because the rods are a fixed length and the ceiling in the kitchen slopes, so we had to hang those lights with wire instead. I wanted coloured tubing to provide some contrast between the whitish plastic rod. It might have been interesting to have both the rod and tubing the scuffed white colour, and if I were building more I’d probably try that. I was hoping that the orange might also glow a bit from the light, and it does, but not as much as I’d like. I also left the orange tubing clear, and if I were doing this again I’d probably sand the outside of it as well - for more glow.
I started to installed the lights on Sunday but two of my glue joins weren’t very strong and had to be re-done. Dad was over today and he and I installed the other two lights. During the day they are barely visible and in sunlight I’m sure you wouldn’t even be able to tell that they were on. At night they glow very nicely, sort of a purplish/blue colour - not pure white, which could be due to the LEDs or the plastic. I’m not sure how ‘white’ white LEDs actually are. Esthetically they are very nice, but from a practical standpoint I’‘d like it if they threw just a bit more light. The frustrating thing about all projects like this is that I have built the prototype of a production unit. I now know all of the pitfalls, flaws, and weaknesses of the design and if I had to build them again I could do a much better job. But of course that would double my costs and I don’t really want to do that, so these lights will have to be good enough.
The materials cost per light came out at $100.00 per light. I didn’t really keep track of my labour so I’m not sure what that would add to the cost. But still even at $200.00 / light I’d be pretty darn happy with them!
As always I took a bunch of pictures as I built them. Many thanks to Traian, Charles, and Jerry at Eurolite.
-

- Posted by: Glen
- November, 24, 2003
