The Straw House Blog

project_sample1

July Update

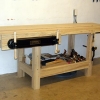
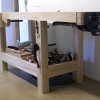
Spring and summer have been busy around the house. The bench is complete except for finishing. I haven’t decided yet what kind of finish I want to use on the bench yet, though I’m leaning towards Tried and True Linseed Oil and Beeswax finish as I love the depth and glow it gives to wood. Danish oil seems to be the traditional choice.

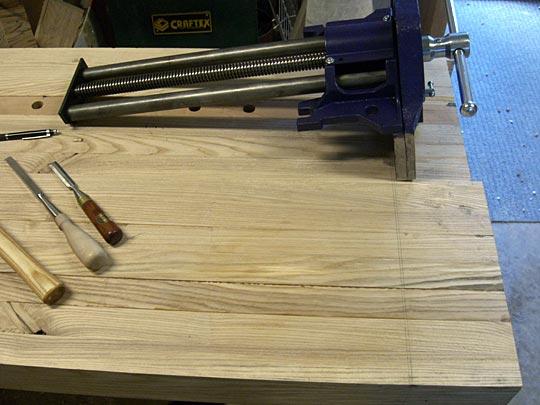
I had to disassemble the twin screw vise and re-install it, but that was expected. It’s very finicky to install correctly even when you follow the instructions to the letter. There’s still a bit of stiffness in the last inch of travel but I’ll probably leave it as is for a while and see if any other problems develop before taking it apart again. The rear vise jaws are secured to the bench with 5” bolts threaded right into the bench top. The front jaw, just like the end vise chop, is a piece of spalted Maple from a tree off our land.

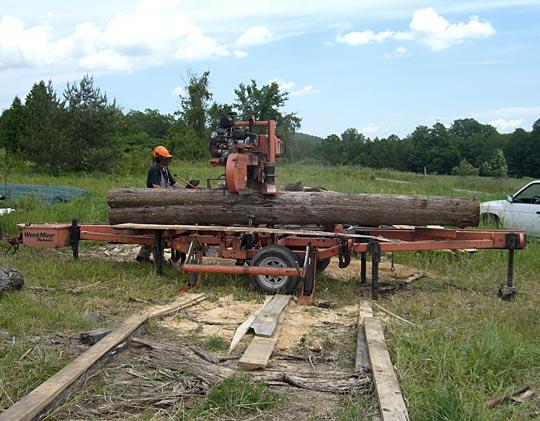
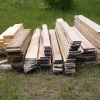
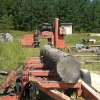
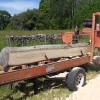
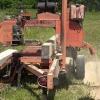
We also had the portable saw mill in to mill the logs that I mentioned back in April. Of the thirty-eight logs only two proved to be rotten so we got away pretty lucky with storing them for so long.

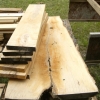
Unfortunately some of what we had thought was Maple when we cut it in the winter turned out to be Basswood. On the other hand some of the Bassword was very nice. In particular we flitch cut the crotch of the tree and found some gorgeous grain and colour which is uncommon in Basswood which is normally very clear and white.

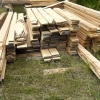
We’ll stack and sticker the wood through the summer and hopefully the Ash will be dry enough to go into the kiln this fall. My goal for this fall/winter is to get the ceiling done.

project_sample1

Bench Update

There hasn’t been a huge amount of progress on the bench this week. Both side have been planed (relatively) flat. The top will get a final touch up once the bottom has been completed and attached. Unfortunately some of the boards have pretty nasty grain and I’ve had problems with tear-out. I may splurge and buy a smaller low-angle plane to do the final surfacing.

This weekend I cut then ends of the bench square and started installing the end vise. The end vise is let into the end of the bench. Cutting out the inset involved lots of small kerfs and then chopping out the waste with a mortise chisel. I only have one mortise chisel, it’s a 3/8” Lie-Nielsen with an Ironwood handle. Ironwood is the hardest wood that grows in North America (we have a lot of it on the land) and you can tell. After an several hours of bashing on the chisel with a maple faced hammer the hammer is dented and the chisel handle looks brand new.

Now that the inset is cut the vise can be mounted. Hopefully I’ll get to that some evening this week. Next weekend I’m hoping to get the twin-screw vise mounted. Once both vises are mounted I’ll flip the bench on the saw horses and start building the bottom. I’m planning to build the entire lower structure with hand tools, including sawing the tenons and wasting out the mortises. It’ll be hard work but I need the practice and most of these joints are hidden and don’t have to be pretty.

project_sample1

Making the Bench Top

Holy crap I’m tired.

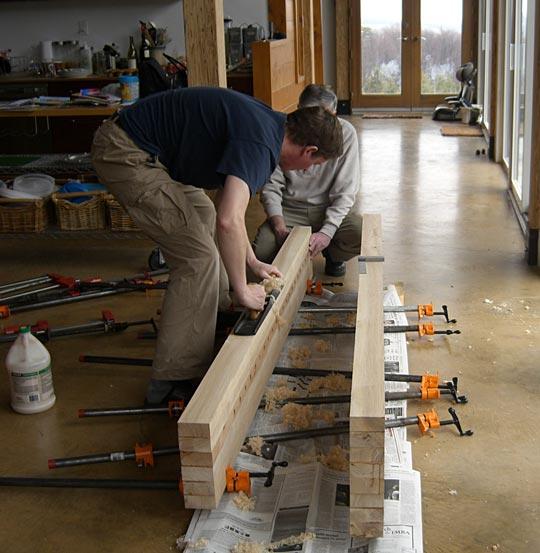
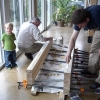
Dad and I started glueing up the bench top very early Thursday morning. The idea was that I could be there first thing in the morning, get one section glued up, then come home work all day, and head back up there right before dinner to glue up the next section. Then after dinner (thanks Mom!) we’d glue up a third section. With the top made up of fourteen pieces of wood we’d have make up four sections of three boards and one section of two boards. Those would then be jointed, planed and then glued to one another to form the bench top.

That worked very well on Thursday. So on Friday I arrived early and we got our first glue up done and clamped. Then we carried the glued up sections from Dad’s basement out to the back garage so that we could joint and plane them. Then we took them back to the basement again.

We figured that we would get the top to the point where we had an eight board section and a six board section, when we would transport those to my house for the final glue up. We didn’t think that we’d be strong enough to carry the completed table top out of Dad’s basement.

We almost weren’t strong enough to carry the two halves out of Dad’s basement.

And so, we made our first mistake. It was so much trouble getting the halves out of the basement we decided not to carry them to the back garage and plane them. “I’ll do them by hand” I said. “It’ll be fine!” Oh boy.

Once home we laid out the two halves on what I figured is the flattest section of floor in the house. Right at the front of the house. Joanne and I wrestled the two sections out of the truck and Gil and Declan carried all of the clamps from the back room to the front. By the way, I know that looks like a lot of clamps. It isn’t. There is no such thing as ‘enough clamps’.

So once we had everything ready Dad and I trial fitted the two pieces and found, to our surprise that they didn’t meet properly. Oh well, out comes the jointer plane, and I start taking strips off the edges of the sections. Now bear in mind that I’m fairly new to hand tools. To this point I’ve ‘six-squared’ several small boards, but the bench is two feet wide and seven feet long. Most of my planing exeprience has been with a #5 Jack plane but compared to a #7 jointer plane it’s practically a toy. The #7 is a significant hunk of metal. Once you get that thing moving it actually creates its own gravitational field. I do not recommend using it hunched over like that, much stretching was required afterwards.

So with the edges squared up we applied the glue with Declan’s supervision.

Then we clamped it.

While the glue was drying Dad and I drove in to the city to go to Lee Valley for the bench vises. I’m using the Veritas Twin screw vise as the face vise, and a large quick release steel vise as the end vise.

But those cannot be installed until the bench top has been flattened. By not carrying the two bench sections out to plane them I have guaranteed that by the time this bench is flat I will no longer be inexperienced with a #7 jointer plane. I have also discovered a wide variety of muscles that are apparently only used when planing. I’m nearly done one side, but I’m done for today. I intend to pour myself a generous portion of Highland Park 18 year-old and emulate Declan.


project_sample1

Building a Holtzapffel Bench

I determined some time ago, not long after building the coffee table in fact, that my ability to draw interesting furniture designs exceeded my woodworking skills. I also felt that it would be something of a tragedy to spend all of this time cutting and milling lumber only to wreck the boards due to my incompetence.

In January I took an an introduction to hand tool techniques course at the Rosewood Studio woodworking school. There I learned that:

  1. Most of my hand tools tools were shit
  2. I had a lot to learn
  3. I was going to need a proper wookbench

So I bought a few books about workbenches and started scouring the internet for information. The writer of the best of the workbench books is a fellow by the name of Christopher Schwarz. He’s the editor of Popular Woodworking magazine and Woodworking magazine (excellent if you are a hand tools enthusiast) and he knows more about traditional woodworking benches than anybody I know. Of the three bench types that he has written about I decided to build a Holtzapffel Bench. No, I have no idea how to pronounce it either.

The first step was acquiring the wood. We have plenty of 1” ash that’s already been through the kiln but I suspected that Joanne might take issue with wood that supposed to be used for the ceiling going towards a workbench. Unfortunately most of our wood has been milled 5/4 (~1”) which would require a lot of gluing. So I bought some 8/4 (~2”) ash from the fellow who rents us kiln space.

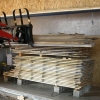
After it came out of the kiln we took it up to dad’s place so that we could dimension the lumber. Here’s the rough lumber ready to be cut up.

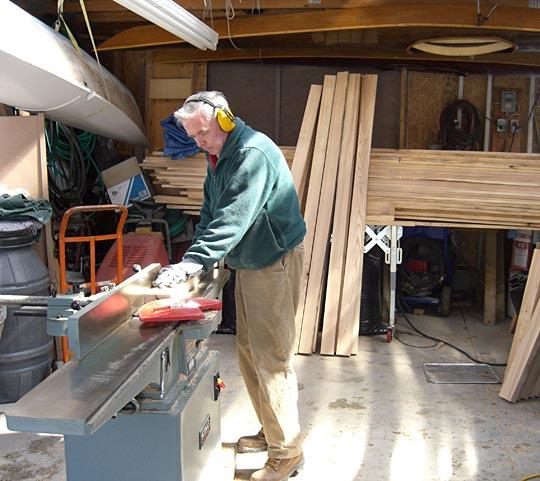
The idea here is that by rough cutting your pieces before jointing/planing you can save a fair bit of time and wood (thickness mostly). So as I cut out the rough chunks I carried them into the garage where Dad was running the big machines.

It took us a good portion of yesterday and all of today but we’ve got all of the wood for the whole bench ready to be glued up. I’ll pop up there a couple of nights this week and hopefully we can be ready to start building the base next weekend. The picture below shows the boards for the top laid out as they will be glued up. The darker coloured board is piece of Black Cherry from my land that Dad had in his garage and we have a lovely spalted maple board to use on the front of the bench top.


project_sample1

The Bench

In the course of cutting and milling wood we have gathered a fair amount of very nice decorative slab. To us slab is wood that’s at least two inches thick and, for whatever reason, not worth milling into boards. Generally we leave the edges rough and I’ve been working on various methods of building legs to turn the slab into benches. Because the wood generally isn’t great quality, and most of it is cedar I’ve been thinking of building outdoor benches to scatter around the land anywhere I think a person might want to rest or where there is a particularly nice view.

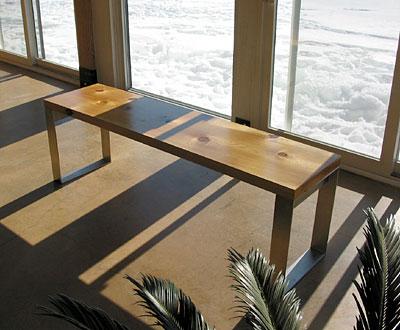
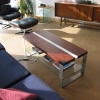
When I had the metal legs made for the coffee table I also has some legs made up for a bench for my front hall. Like the coffee table the orginal front hall bench was made by me in a style I call modern plywood. But it was too small for the front hall. It had storage inside that was sufficient for dogs leashes and gloves when we lived in the city, but not the outdoor gear required for the country. It certainly couldn’t accomodate the vast vast plethora of footwear, gloves and hats that we have accumulated. So I moved it to the back door and built this bench.

The legs are stainless steel, welded, with a horizontal brace at the top. The slab is two inch thick cedar finished with multiple coats of spar varnish, to protect it from the sun. It has plenty of space underneath for boots and I’ll either buy or build a couple of nice open baskets for gloves, hats, etc. These legs are too expensive for me to use more than one set, though I could drive the costs way down by bending the steel rather than welding it, and moving to mild steel rather than stainless (though then I would have to worry about rust).

We have recently cut some ash, maple and black cherry hardwood. From that I have some very nice ash slab, and a maple beam with both spalting and quilting in the grain. I intend on doing some sort of George Nakashima/Brent Comber style piece with it, the form is nearly complete in my head, soon I’ll get it down on paper. No work will be done on this piece until the summer though, since the maple is still wet and heavy enough that two of us could barely move it.

Drying wood is starting to become a big concern for us, as hardwoods can require several years to dry outside on their own. There are numerous lumber yards and kilns around us but none of them will rent space, so it looks like one of the first summer projects (money permitting) will be a solar kiln and drying racks. Details, you can be assured, will follow.

Just in case that you’ve been worried that father’s been bored, what with not being here and working on my house all the time. Well you need not worry. He’s built himself an iceboat. The iceboat uses a windsurfer sail for propulsion, but that’s way too pedestrian for my Dad, he’s building a wing.


project_sample1

The Coffee Table

I built our old coffee table one apartment and one house ago. As a first effort it wasn’t bad; wood legs on castors with a glass top and metal lower shelf. It was very early 90’s. But like many projects I never quite finished it, the glass was never firmly attached to the legs and could slide if bumped by a leg, a dog, or more recently (and dangerously) by an energetic and highly mobile toddler. Joanne decreed the old table dangerous and it was dismantled.

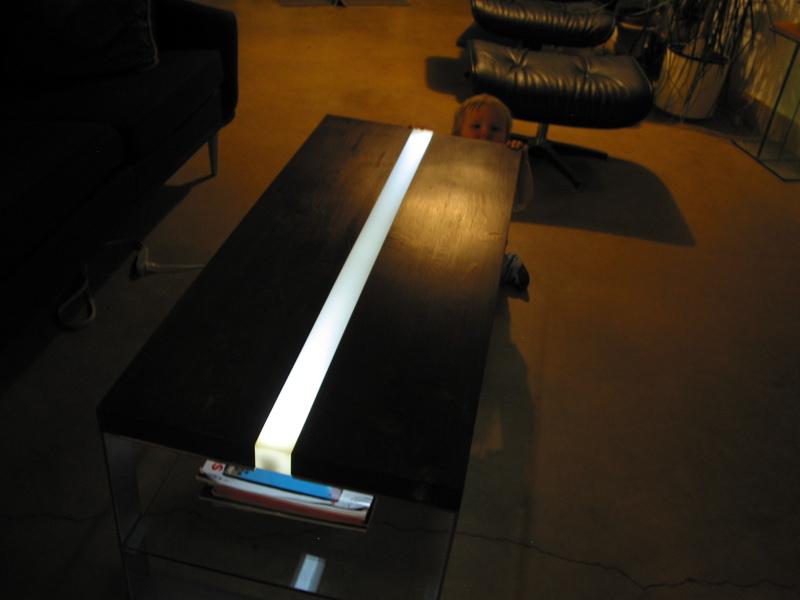
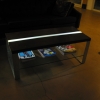
So I designed a new one. I’ve been toying with the concept of lighted furniture for a while now. I like the idea of creating small discreet sources of low light scattered around a room and using point sources where more illumination is needed (i.e. for reading). One method of doing that is embedding lights within furniture. In the case of this table the light is provided by two 1W LED’s. It shines both up and down. The light up is very pretty, but not particularly useful (you can’t read by it). The light down illuminates the bottom shelf, in our case the home of our stack of current magazines.

I’m fairly pleased with how it has turned out and for a prototype it’s pretty good. Right now it’s sitting in Eurolite’s showroom, so if you’re in Toronto you can go and check it out.

Right now I’m building new slabs for the table top, the current ones are cedar (not a great material for table tops - too soft), the new ones will be butternut. They will have an improved method of holding the light in place. I’m also ordering some flat low voltage wiring to use for the lights, which will allow me to run the wireing to the table, up the leg, and to the lights and have it almost invisible.

Update: Not to sound all, “You like me, you really like me!” but Land+Living (a design blog I enjoy) has some very kind words to say about the coffee table.