Building a Holtzapffel Bench
I determined some time ago, not long after building the coffee table in fact, that my ability to draw interesting furniture designs exceeded my woodworking skills. I also felt that it would be something of a tragedy to spend all of this time cutting and milling lumber only to wreck the boards due to my incompetence.
In January I took an an introduction to hand tool techniques course at the Rosewood Studio woodworking school. There I learned that:
- Most of my hand tools tools were shit
- I had a lot to learn
- I was going to need a proper wookbench
So I bought a few books about workbenches and started scouring the internet for information. The writer of the best of the workbench books is a fellow by the name of Christopher Schwarz. He’s the editor of Popular Woodworking magazine and Woodworking magazine (excellent if you are a hand tools enthusiast) and he knows more about traditional woodworking benches than anybody I know. Of the three bench types that he has written about I decided to build a Holtzapffel Bench. No, I have no idea how to pronounce it either.
The first step was acquiring the wood. We have plenty of 1” ash that’s already been through the kiln but I suspected that Joanne might take issue with wood that supposed to be used for the ceiling going towards a workbench. Unfortunately most of our wood has been milled 5/4 (~1”) which would require a lot of gluing. So I bought some 8/4 (~2”) ash from the fellow who rents us kiln space.
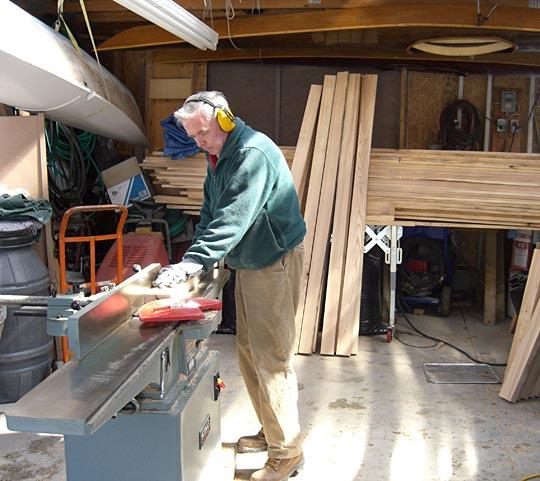
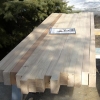
After it came out of the kiln we took it up to dad’s place so that we could dimension the lumber. Here’s the rough lumber ready to be cut up.
The idea here is that by rough cutting your pieces before jointing/planing you can save a fair bit of time and wood (thickness mostly). So as I cut out the rough chunks I carried them into the garage where Dad was running the big machines.
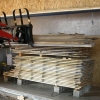
It took us a good portion of yesterday and all of today but we’ve got all of the wood for the whole bench ready to be glued up. I’ll pop up there a couple of nights this week and hopefully we can be ready to start building the base next weekend. The picture below shows the boards for the top laid out as they will be glued up. The darker coloured board is piece of Black Cherry from my land that Dad had in his garage and we have a lovely spalted maple board to use on the front of the bench top.
-

- April, 06, 2008